For those of you who did not have the opportunity to watch the Apple Special Event June 13,2016, here is the link to the Event: http://www.apple.com/apple-events/june-2016/
|
The Future in Collaboration with Goog Logistic BV are organising the "Euro Swift Tour Training 2016",it's a Five day intensive training Program from Monday to Friday, from 8:00 to 18:00.The Training will be conducted by the best instructors(IOS Engineers) from Europe and the US. The training will cover the following frameworks.
We will further Cover other topics on Object-C, watchOS, tvOS, Research Kit,HealthKit, Apple Development Tools: Xcode and Instruments.You will need an iPhone or iPad for development and testing.It is preferable to also have a Mac using OS X Lion or later.Download the iOS 9 SDK and X Code 7 to start making apps. The Trainers assume that you have some programming knowledge especially for Apple. Below are the schedules for the Euro Swift tour Training program across Europe. France - Paris: 6/06/2016 - 10/06/2016 Norway - Oslo: 20/6/2016 - 24/06/2016 Germany - Berlin: 04/07/2016 - 08/07/2016 Luxembourg - Luxembourg: 18/07/2016 - 22/07/2016 Switzerland - Zurich: 01/08/2016 - 05/07/2016 Spain - Barcelona: 22/08/2016 - 26/08/2016 The cost of the Training is 5,000 Euros per delegate. For more Information and booking: Onyango Willy Or leave your comment below will then get back to you. Goog Logistic BV Tel: +31647854177 Onyango Willy [email protected] 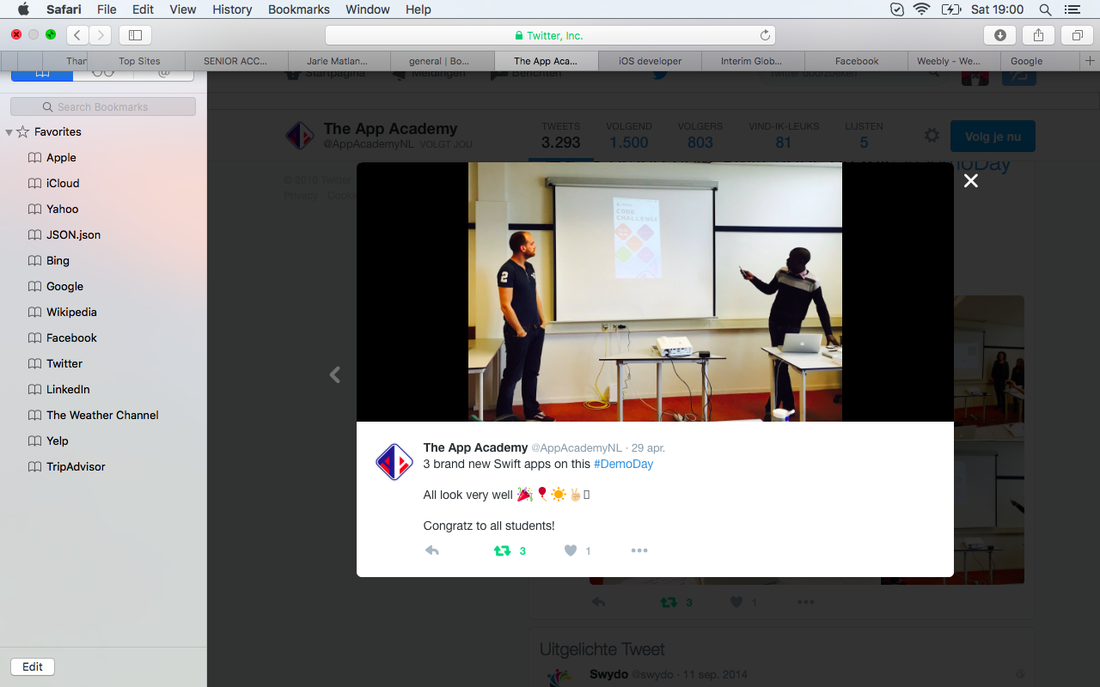 It has been a while since i last posted something, for a couple of weeks we were very busy with our Final Project , if i say our Project i mean i and my teammate Jarle who really did a great Job in ensuring that the project was a success. We worked so hard and finally on friday we had something to Show. I am Happy for the other two teams who completed and presented their Project Successfully too. Our final Project is called "The Code Challenge App". Our Client was The App Academy, The Client wanted an App that would get people interested in doing the Code Course. We thought it would be nice for people to try out some Coding, So we came up with some exciting tutorials and quizzes, Using the quiz, people will be able to test their Coding skills and also be able to share final scores on the Social media like Facebook, Twitter , Linkedlin etc By trying out the tutorials and Visionalising the result their after, we felt they will be able to experience the same excitement we have had several times during the course. So Watch the space on the latest update on "The Code Challenge App." ***Willy*** It took me almost the whole day trying to implement the Facebook SDK for IOS to our application.
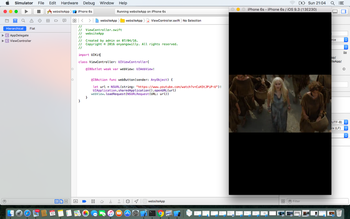
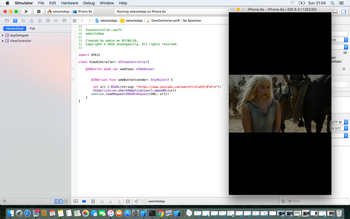
At first it was pain in the butt but finally we got it working. Someone would wonder why would any body need the Facebook SDK for IOS in their app, Well there are numerous benefits as a result of its implementation in our Apps. Let us look at the resaons we decided to incorporate it in our app Project. We wanted people who are using our app to be able to share, send messages, or like content in our app. want them to be able to share custom Stories with open Graph, This is possible with user with Facebook user account. We want people to sign in to our app using their Facebook Login, we believe this would attract more user since those with Facebook account won’t have to signup again. With App Events, We are able to understand people’s action in our app and this would make it easy for us to measure the effectiveness of our mobile App Ads. With App Invites, People using our App are able to send invites to their friends on Facebook from our app which is really cool right? It means more subscribers. We wanted to use Graph API to get data in and out of Facebook’s social graph, Further more we are able to Query data, posting Stories, upload photos and do other tasks . Audience Network makes it possible to monetise our apps with Facebook ads. As you can see the benefits are limitless. The Facebook SDK for IOS consist of the following frameworks; FBSDKCore.framework, FBSDKMessengerShareKit.framework, Bolts.framework, FBSDKLoginKit.Framework, FBSDKAudienceNetwork.framework and lastly FacebookSDKString.bundle. The choose for which framework to use will depend on what you want to achieve with Facebook SDK and this may varies depending on what you want to achieve with your App. You can visit Facebook for Developers link for more information on how to incorporate the Facebook SDK in your App or Website at: https://developers.facebook.com/products This weekend was pretty exciting, I decided to do something unique. Guess what? "It was Coding and movies". Sound exciting right? I wrote this simple code and I was able to access all my favourite movies from youtube and other movie streaming websites. With Coding, you can do anything , Whether you want to develop a complex application to land a rocket on Mar or simple Application for office or home use , The solution is in the code! Coding is the Future! Have a look at what I did and some of the scene in the movies, I must admit, I really had fun! 
UITableView is a view object use for displaying scrollable list of information / data like texts,image among others. UITableView has special features like headers, footers, rows, and section.UITable view is classified in to two.The plain tableView which consist of single list of items and another one which contain multiple sections and customisable section header,footer is know as grouped tableView.
You can edit UITableView when it is in a editing mode without changing its content,you can easily change the order of the rows,add rows or even remove rows. A tableView can have its own header and footer, different from any section; the table header comes before the first row of the first section, and the table footer appears after the last row of the last section. Table Views allows the user to navigate through hierarchically structured data,present a selectable list of options,present an indexed list of items and display detail information and controls in visually distinct groupings. In order to add sections and an index list in the UITableView, we need to use these methods as defined in UITableViewDataSource protocol. NumberOfSectionsInTableView this method is used to returns the total number of sections in the table view.we usually set the number of section to 1. If you want to have multiple sections, set this value to a larger number.TitleForHeaderInSection method is used to returns the header titles for different sections. NumberOfRowsInSection method is used to return the total number of rows in a specific section, CellForRowAtIndexPath method returns the table data for a particular section. SectionIndexTitlesForTableView method returns the indexed titles that appear in the index list on the right side of the table view and finally the sectionForSectionIndexTitle method which returns the section index that the table view should jump to when user taps a particular index. To get the UITableView working in our application,we need the collaboration of a view controller to help its appearance on the screen,UITableView asks the data source for the number of rows to display and the data source is able to show those rows.Finally the UITavieView need the delegate to help inform the other objects of events involving UITableView. In conclusion,UITableView is useful in presenting information to the user and its edibility mode enable the user to add rows,delete rows and flexibly interchange the position of rows. Dictionary is used to store unordered lists of values of the same type. Swift puts strict checking which does not allow you to enter a wrong type in a dictionary even by mistake. Dictionary uses a unique identifier known as a key to store a value which later can be referenced and looked up through the same key. Unlike items in an array, items in a dictionary do not have a specified order. You can use dictionary when you need to look up values based on their identifiers.
A dictionary key can be either integer or string without a restriction, but it should be unique within a dictionary. If you assign a created dictionary to a variable then it’s always mutable which means you can change it by adding, removing, or changing its items but if you assign a dictionary to a constant then that dictionary is immutable, and its size and contents cannot be changed.You can create a empty dictionary of a certain type using the following initializer syntax: var Dict = [KeyType: ValueType]().We use this simple syntax to create an empty dictionary whose key will be of Int type and associated values will be strings: var someDict = [Int: String]().Following this example, you can create a dictionary from the given values: var Dict:[Int:String] = [4:”Four”, 5:”Five”, 6:”Six”]. To access a dictionary,we can retrieve a value from it by using subscript syntax, passing the key of the value you want to retrieve within square brackets immediately after the name of the dictionary as follows: var someVar = someDict[key]. We can modify dictionary using updateValue(forKey:) method to add an existing value to a given key of the dictionary. This method returns an optional value of the dictionary’s value type. You can use removeValueForKey() method to remove a key-value pair from a dictionary. This method removes the key-value pair if it exists and returns the removed value, or returns nil if no value existed. To Iterate over a dictionary, we can apply for-in loop to iterate over the entire set of key-value pairs in a dictionary . To Convert a dictionary to Arrays we need to extract a list of key-value pairs from a given dictionary to build separate arrays for both keys and value. You can use read-only count property of a dictionary to find out the number of items in an dictionary. Finally you can use read-only empty property of a dictionary to find out whether a dictionary is empty or not. MKMapItem Class encapsulates information about a specific points on a map. The information include the map location and other data that might be relevant such as the name of a business like restaurant at a location. our application uses this class to share-related data with the Map application. There are two ways to use this class.Apps that are able to display point-to-point directions can receive request from map app following a request from the User to use your app for routing.The request is done by a user who want to travel from one location to another.Routing is helpful as it shows direction between two locations. With routing,route between two locations are displayed. Therefore the directions request contain map items with the start and end points used when creating the directions.
The second way to use this class is to create items in your app and allow the map app to display them, for example if your app allow the user to display list of Restaurants or Search for Restaurants ,you can create a restaurant for each location and ask the Map to display pins at the corresponding locations of each restaurant. You can use this class to create an item in your app and it is displayed on the pins in the map. Most time the MKMapItem is used to represent fixed locations on the map like business locations but mapItemForCurrentLocation method with the help of Core Location can help us to create item that represent the user current location.Therefore if you need the actual location of the user, you must use the Core Location framework to retrieve it. we need authorisation to access the User current Location and we can access it using NSLocationWhenInUseUsageDescription. In Conclusion,MKMapItem help user when it comes to routing which is helpful when showing direction between two locations. It’s also helpful when we want to create new item and we want it displayed on the Map in form of pins. |
ArchivesCategories |
 RSS Feed
